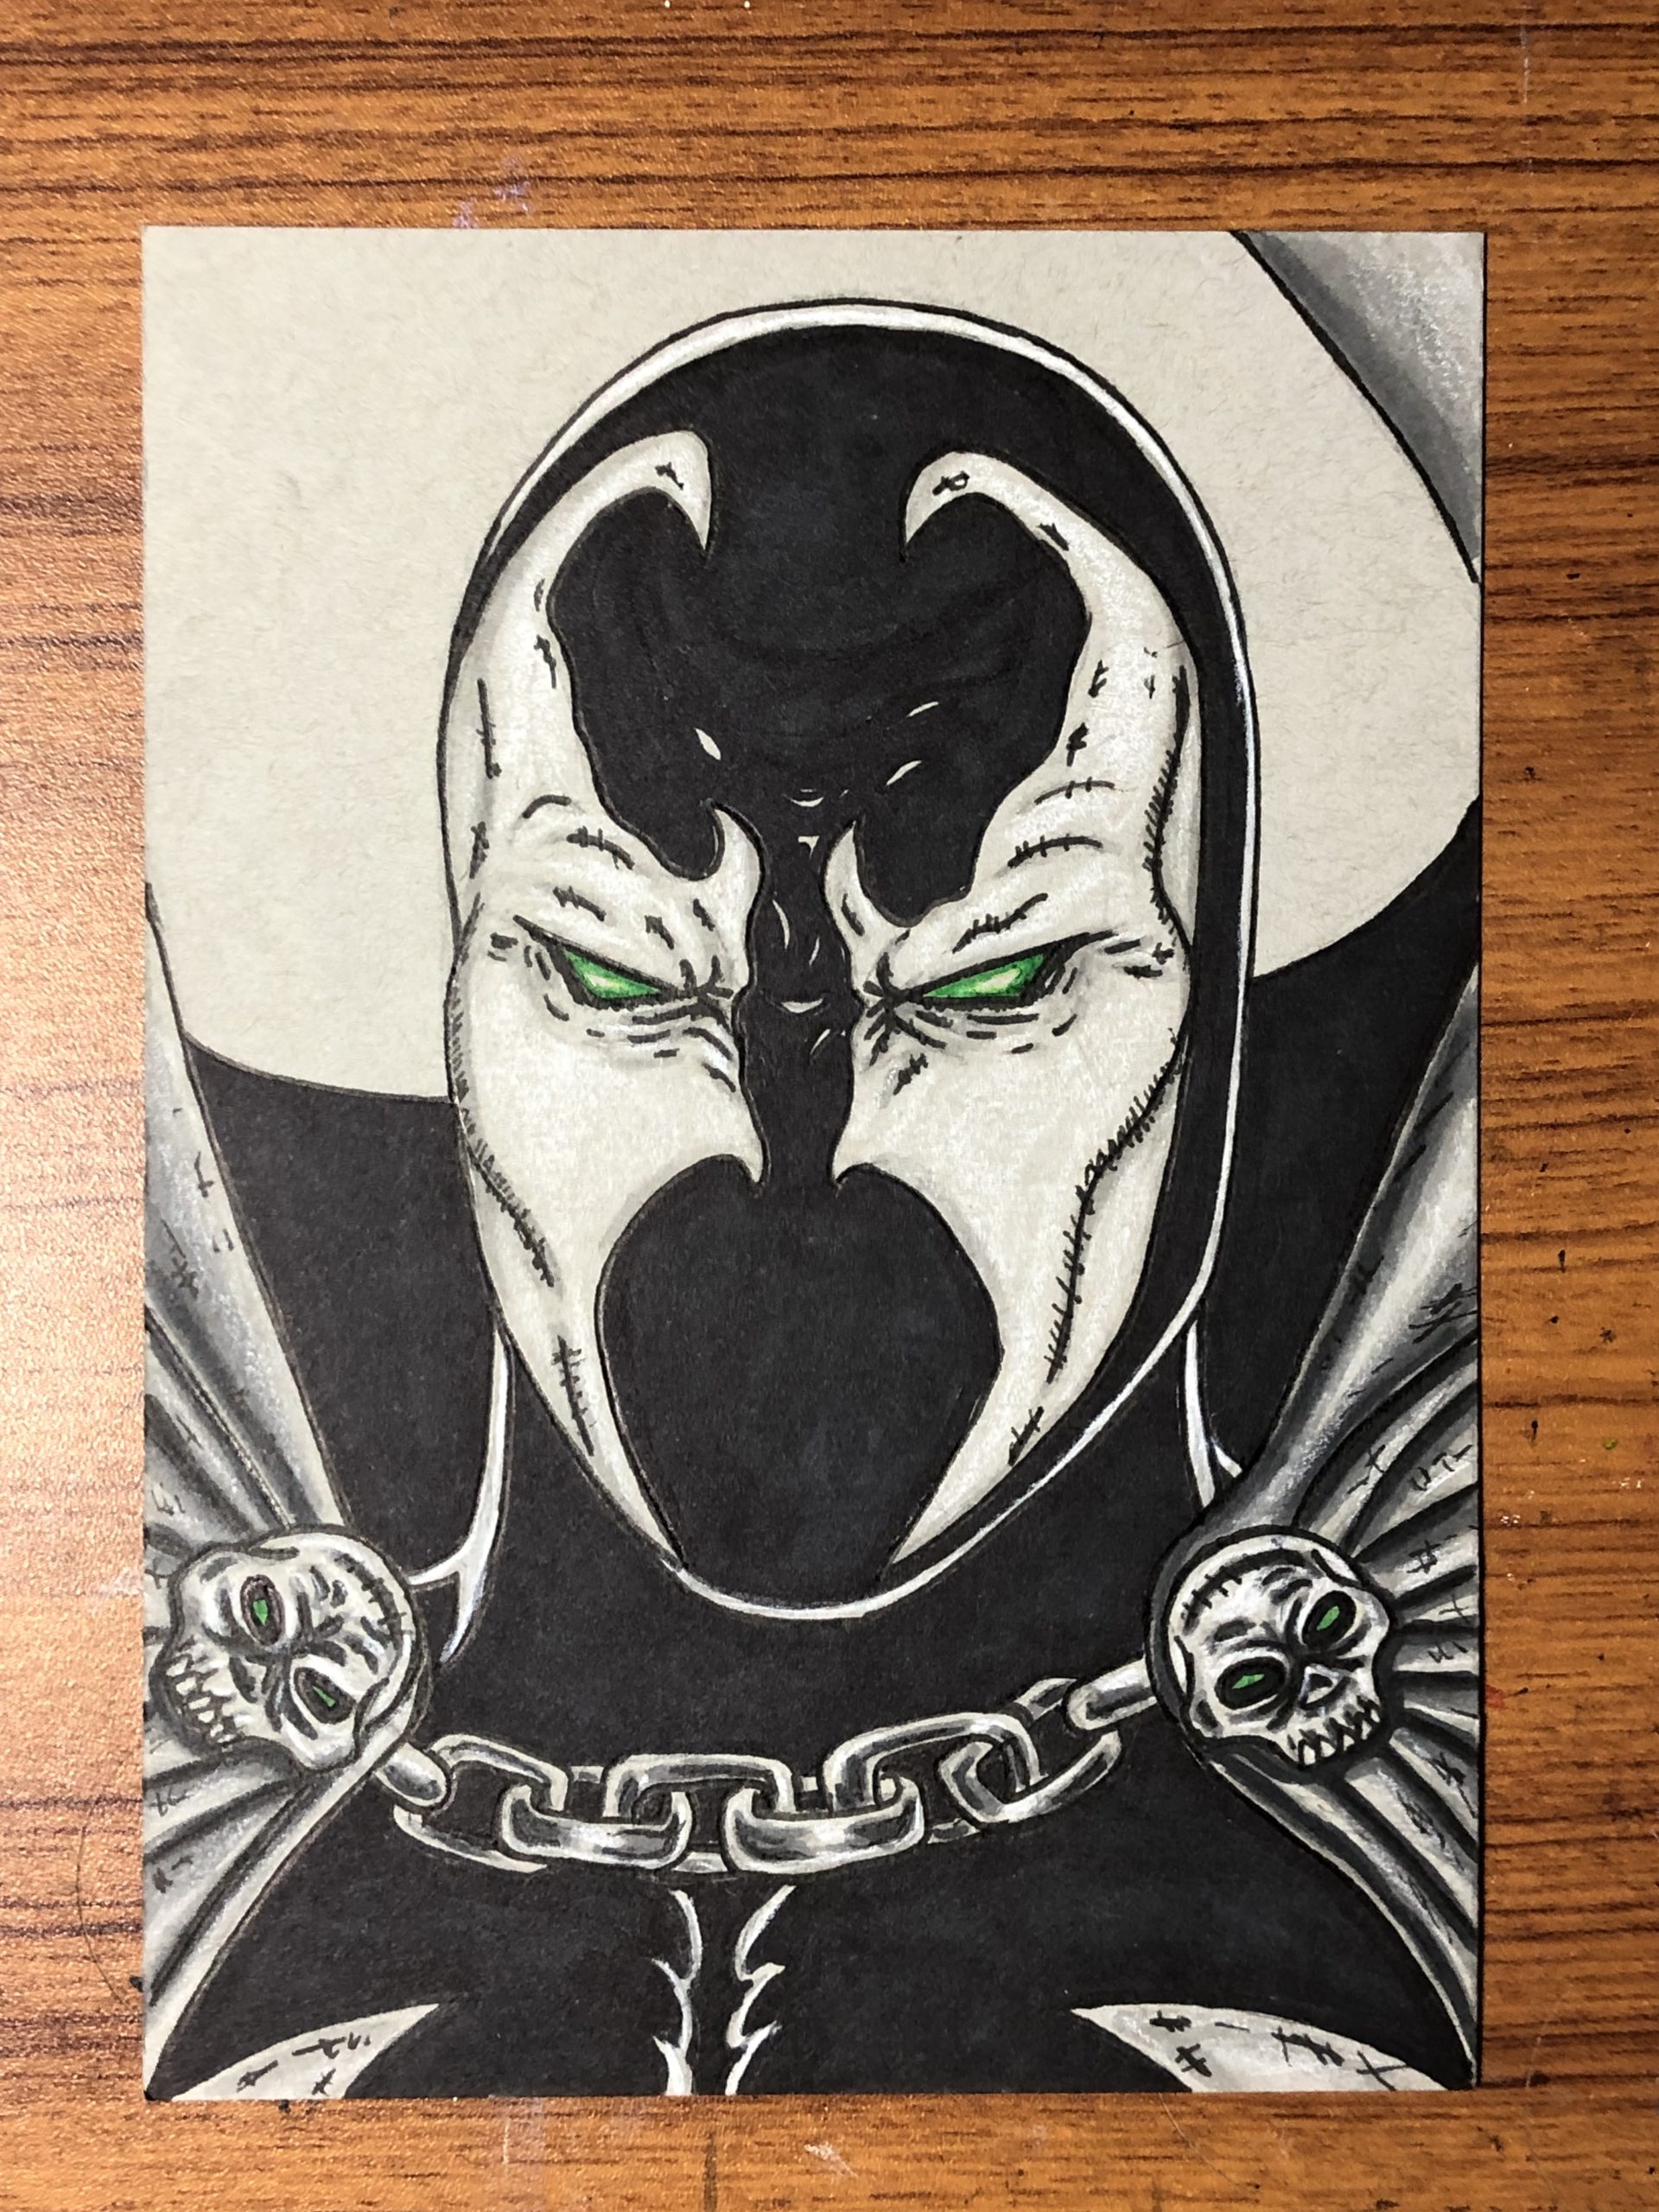
Spooky season is here!
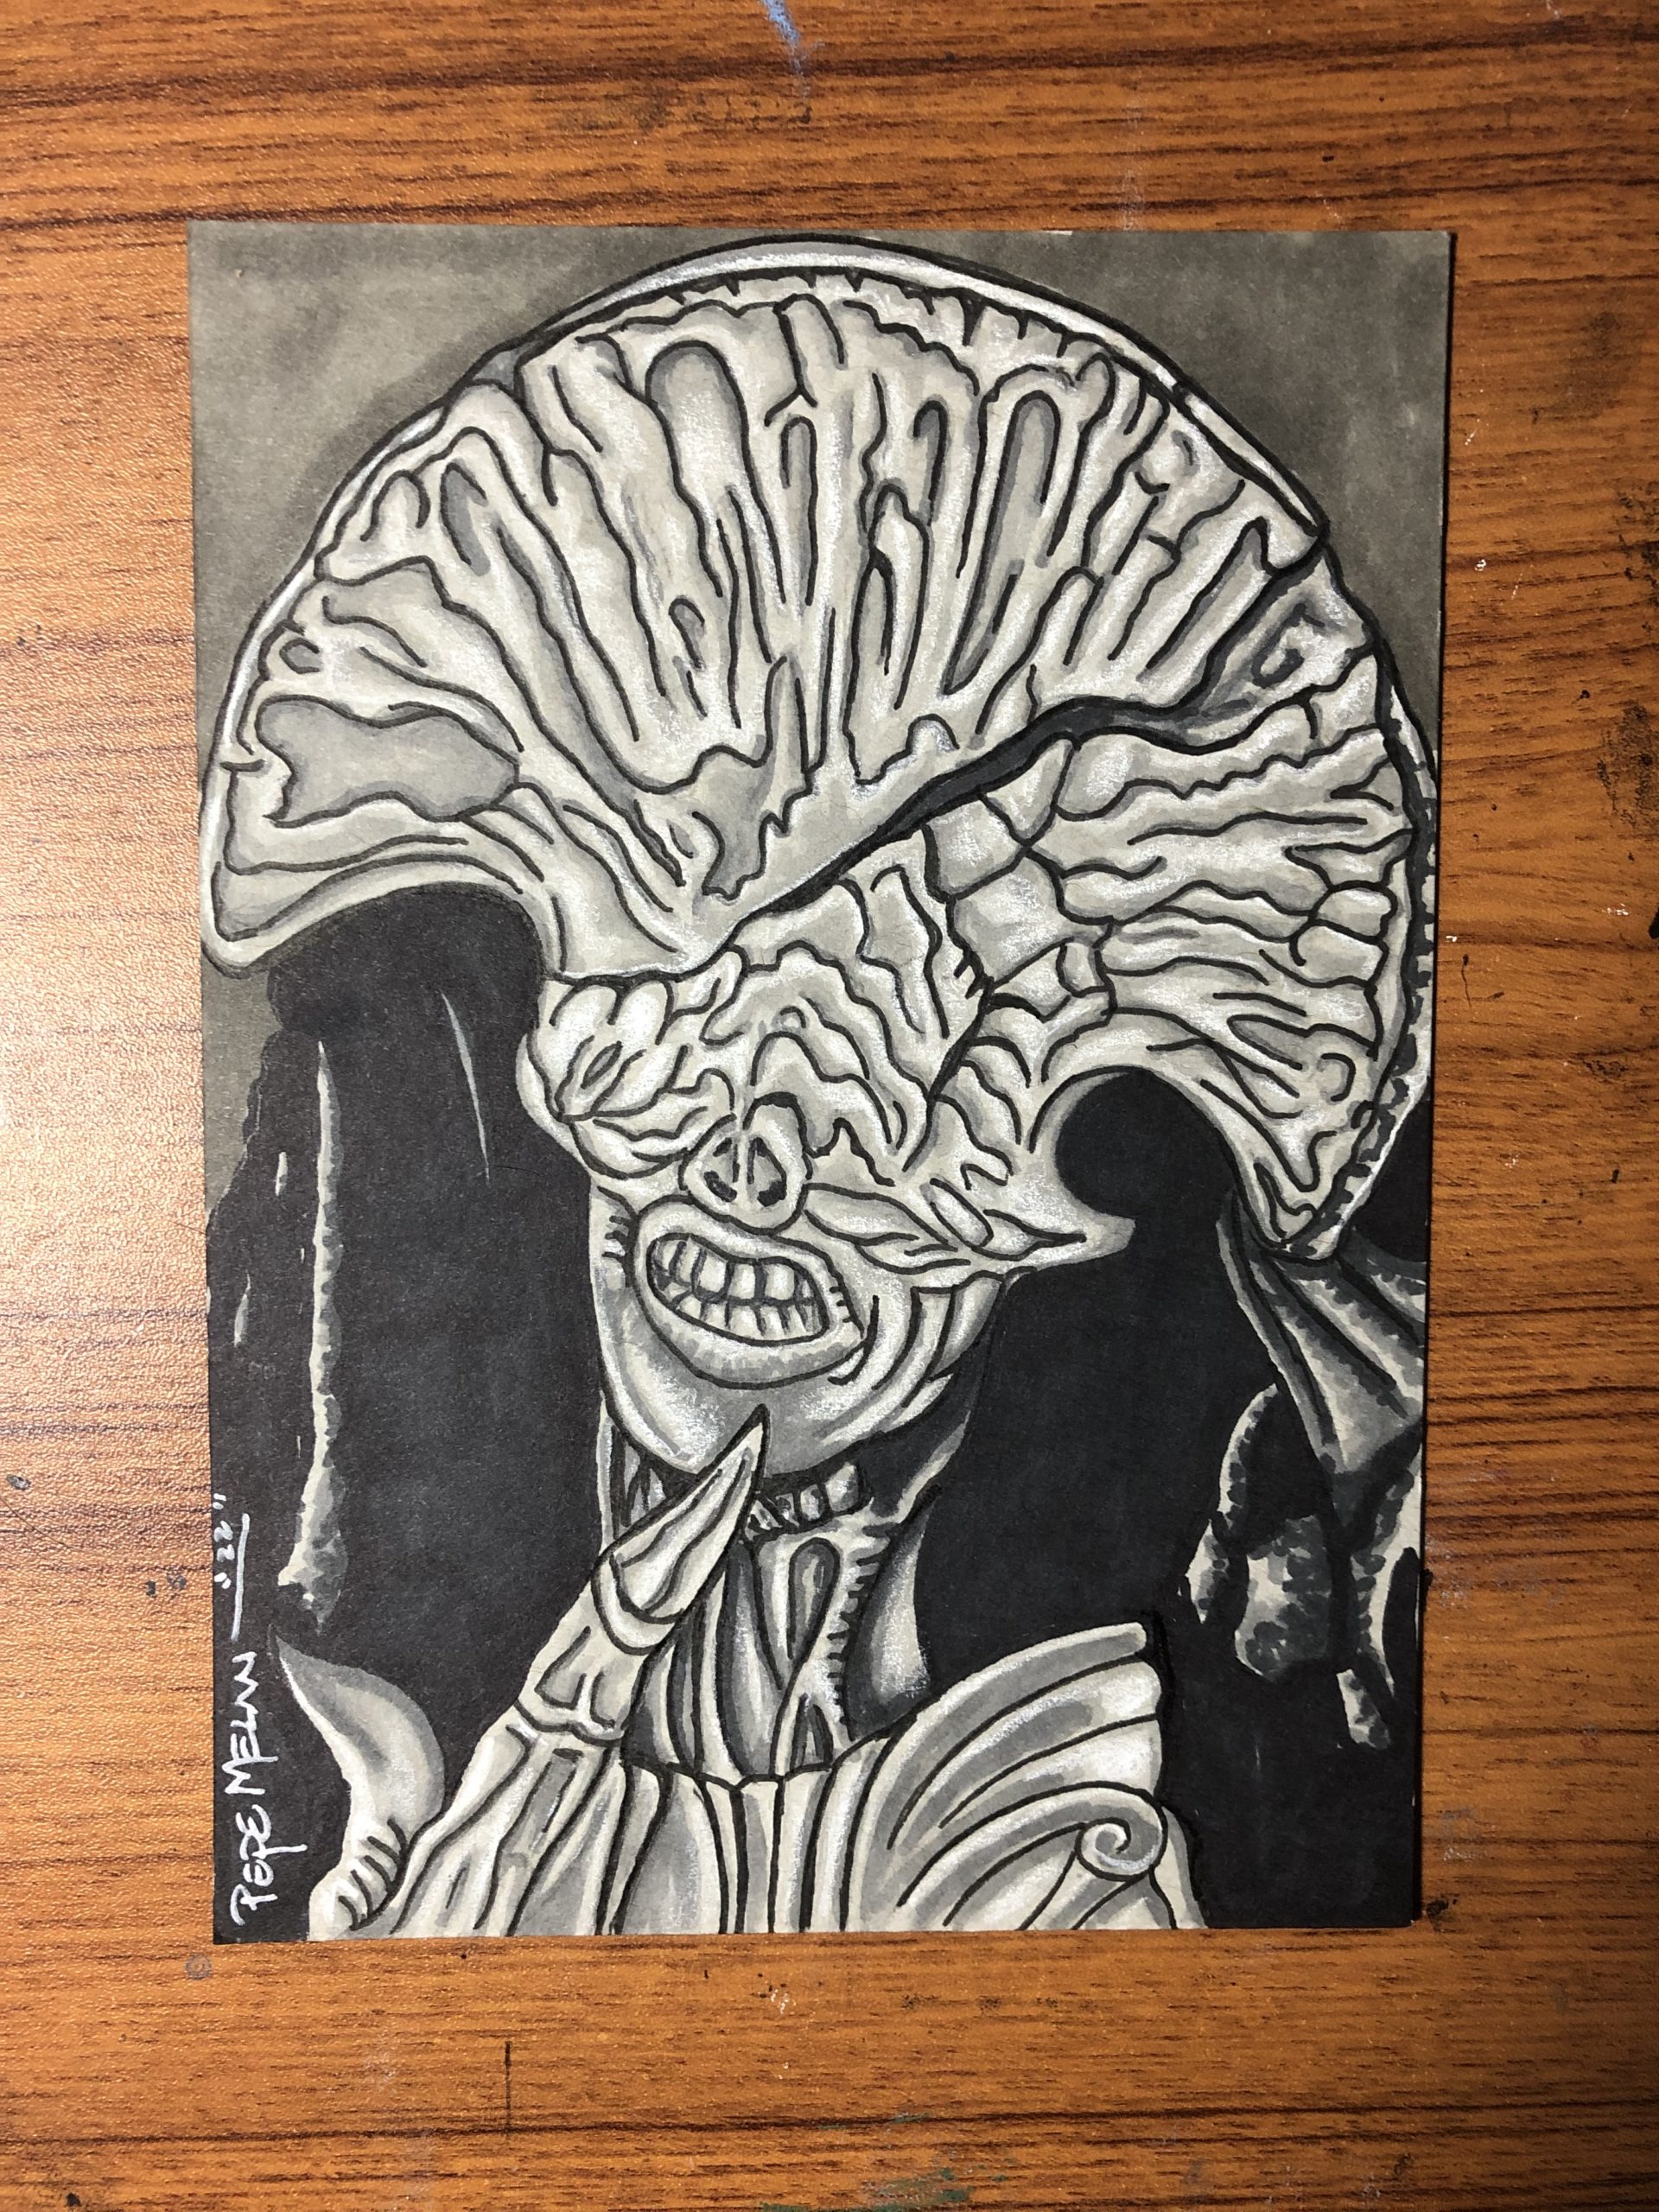
Inktober Day 7 – Todays #uniquetober 7 prompt is Spawn.
Spooky season is here!
Inktober Day 7 – Todays #uniquetober 7 prompt is Spawn.
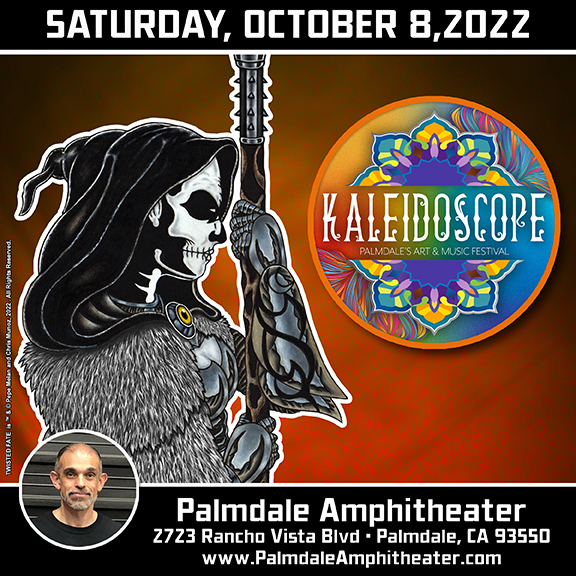
Tomorrow, October 8, I will be at the 6th Annual Kaleidoscope Art & Music Festival. The festival takes place from 10am-6pm at the Palmdale Amphitheater • 2723 Rancho Vista Blvd. Music, food, artisan creations, activities, muralist, and locally crafted beer and wine will be part of the Kaleidoscope experience. I will have original art, custom sketch covers, stickers, pins, and my indie comic and apparel. Admission and parking are free.
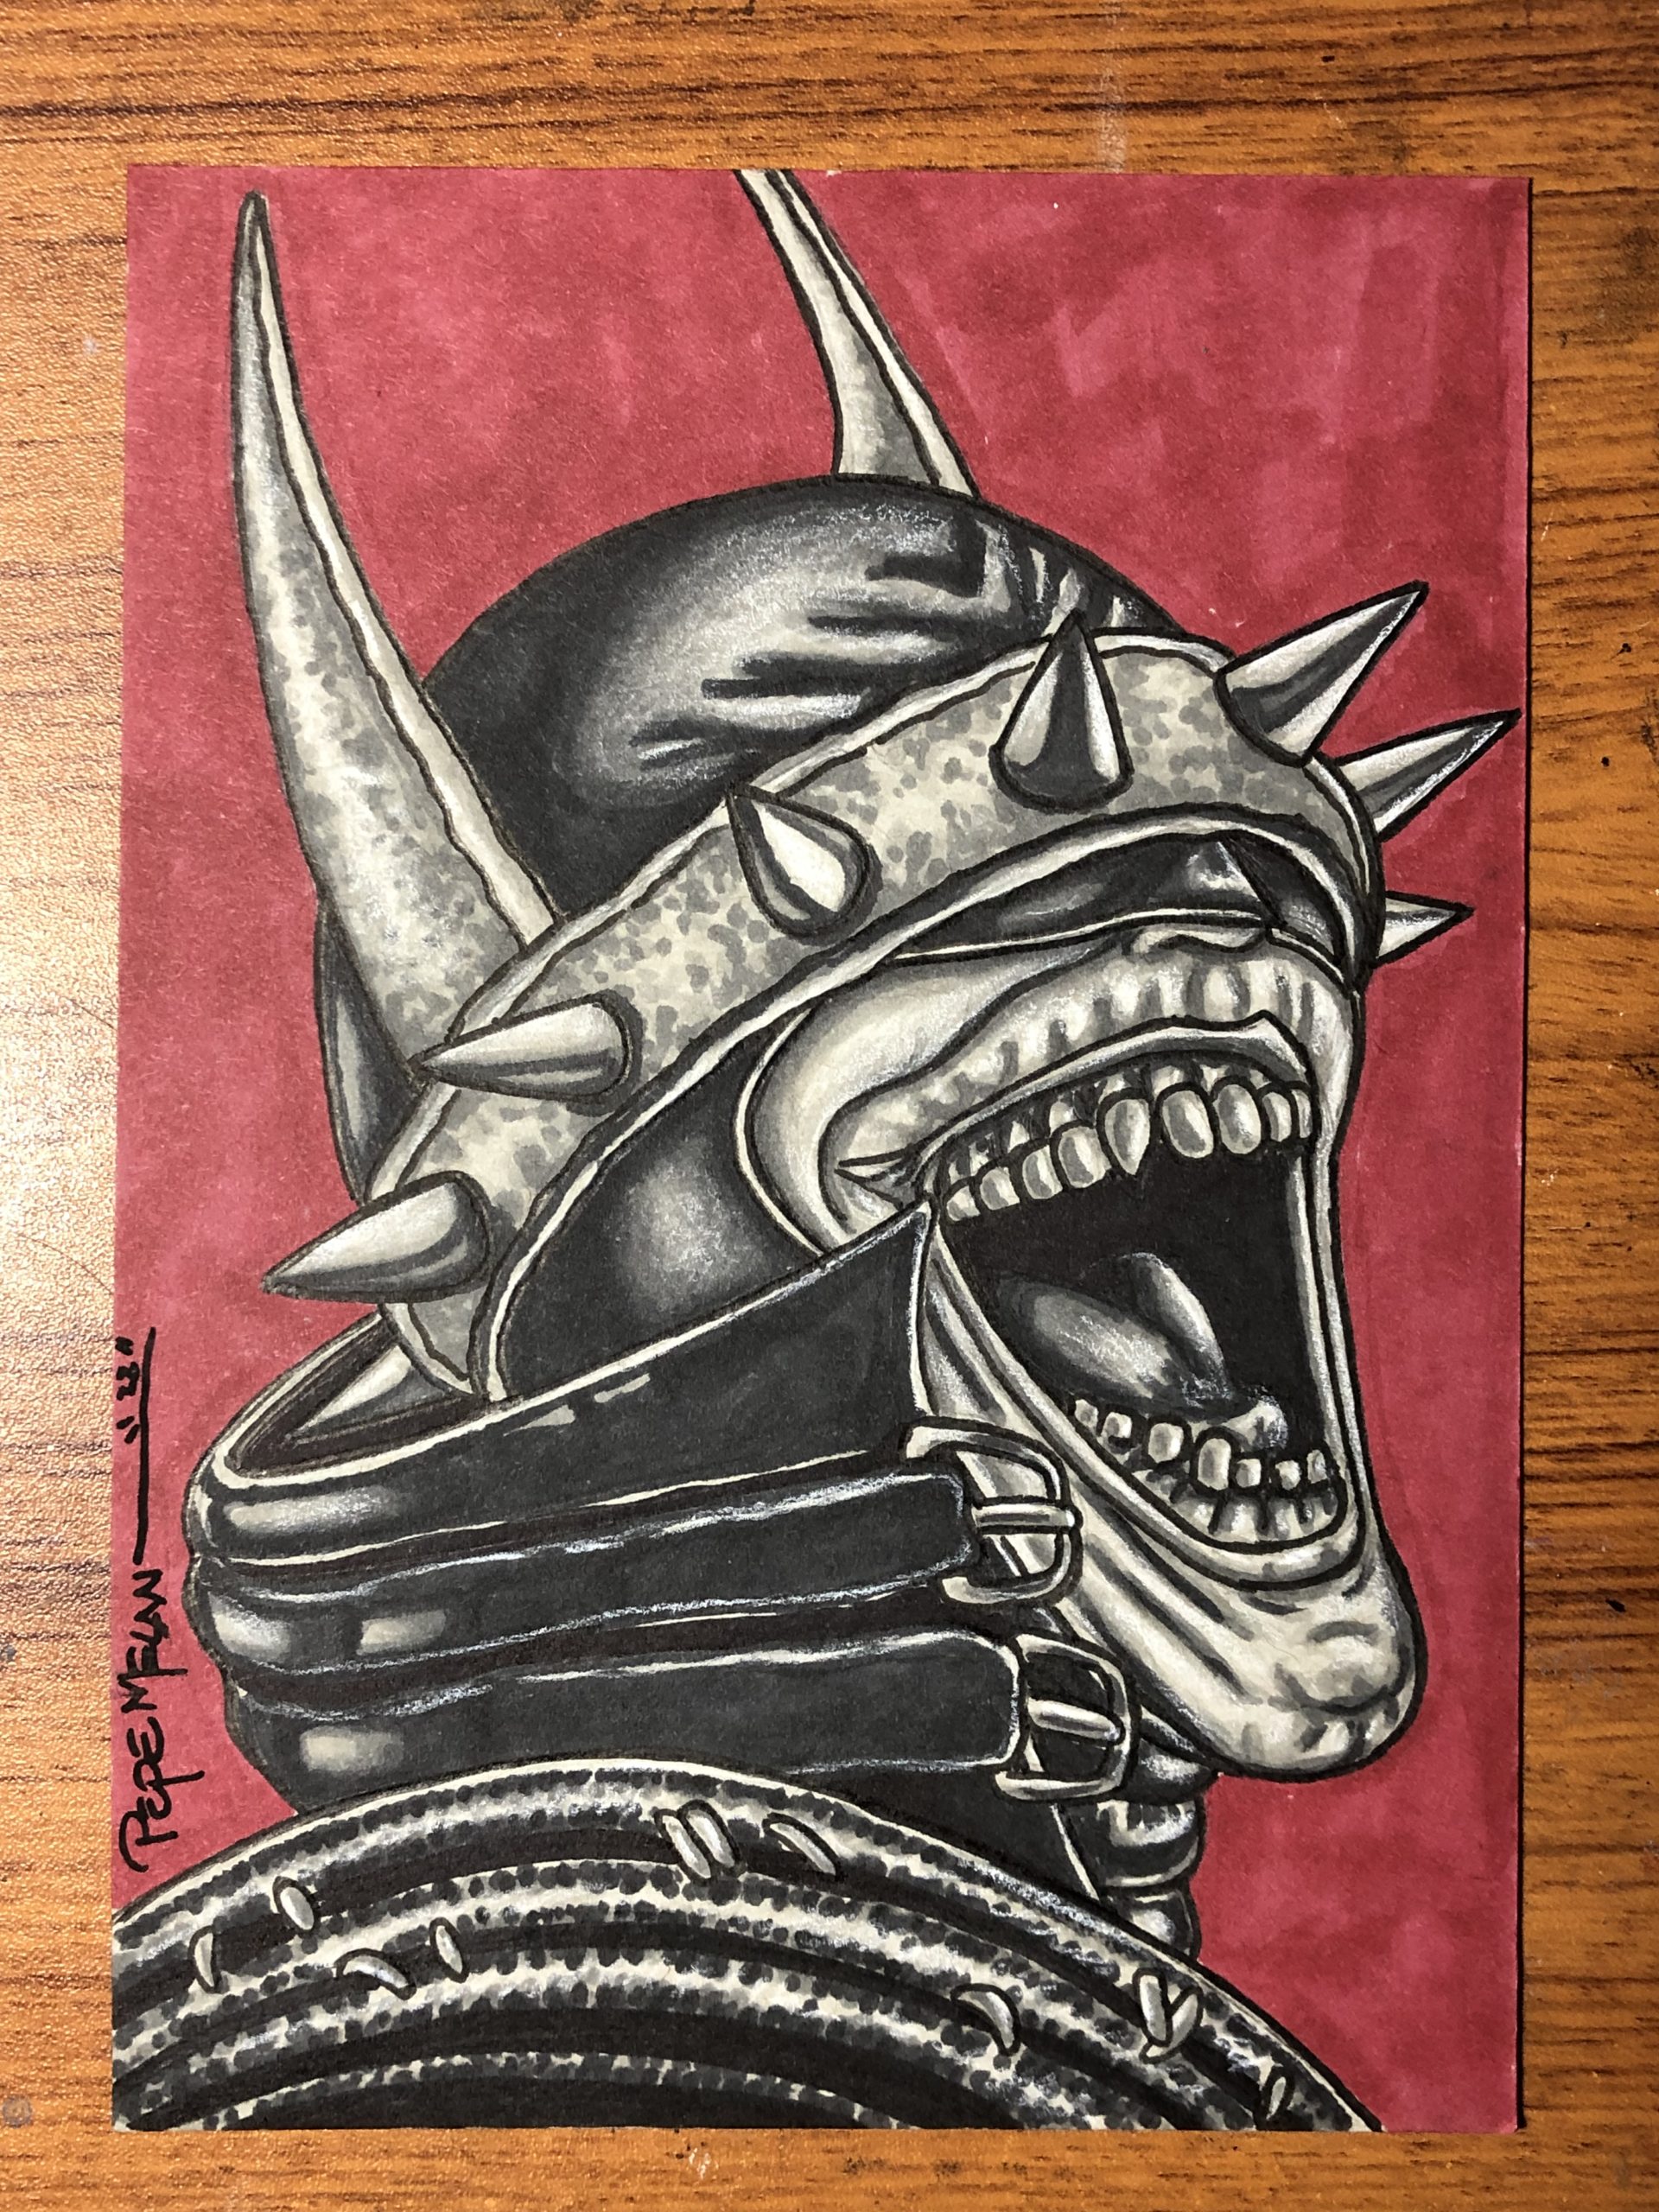
Spooky season is here!
Inktober Day 6 – Todays #uniquetober 6 prompt is The Batman Who Laughs.
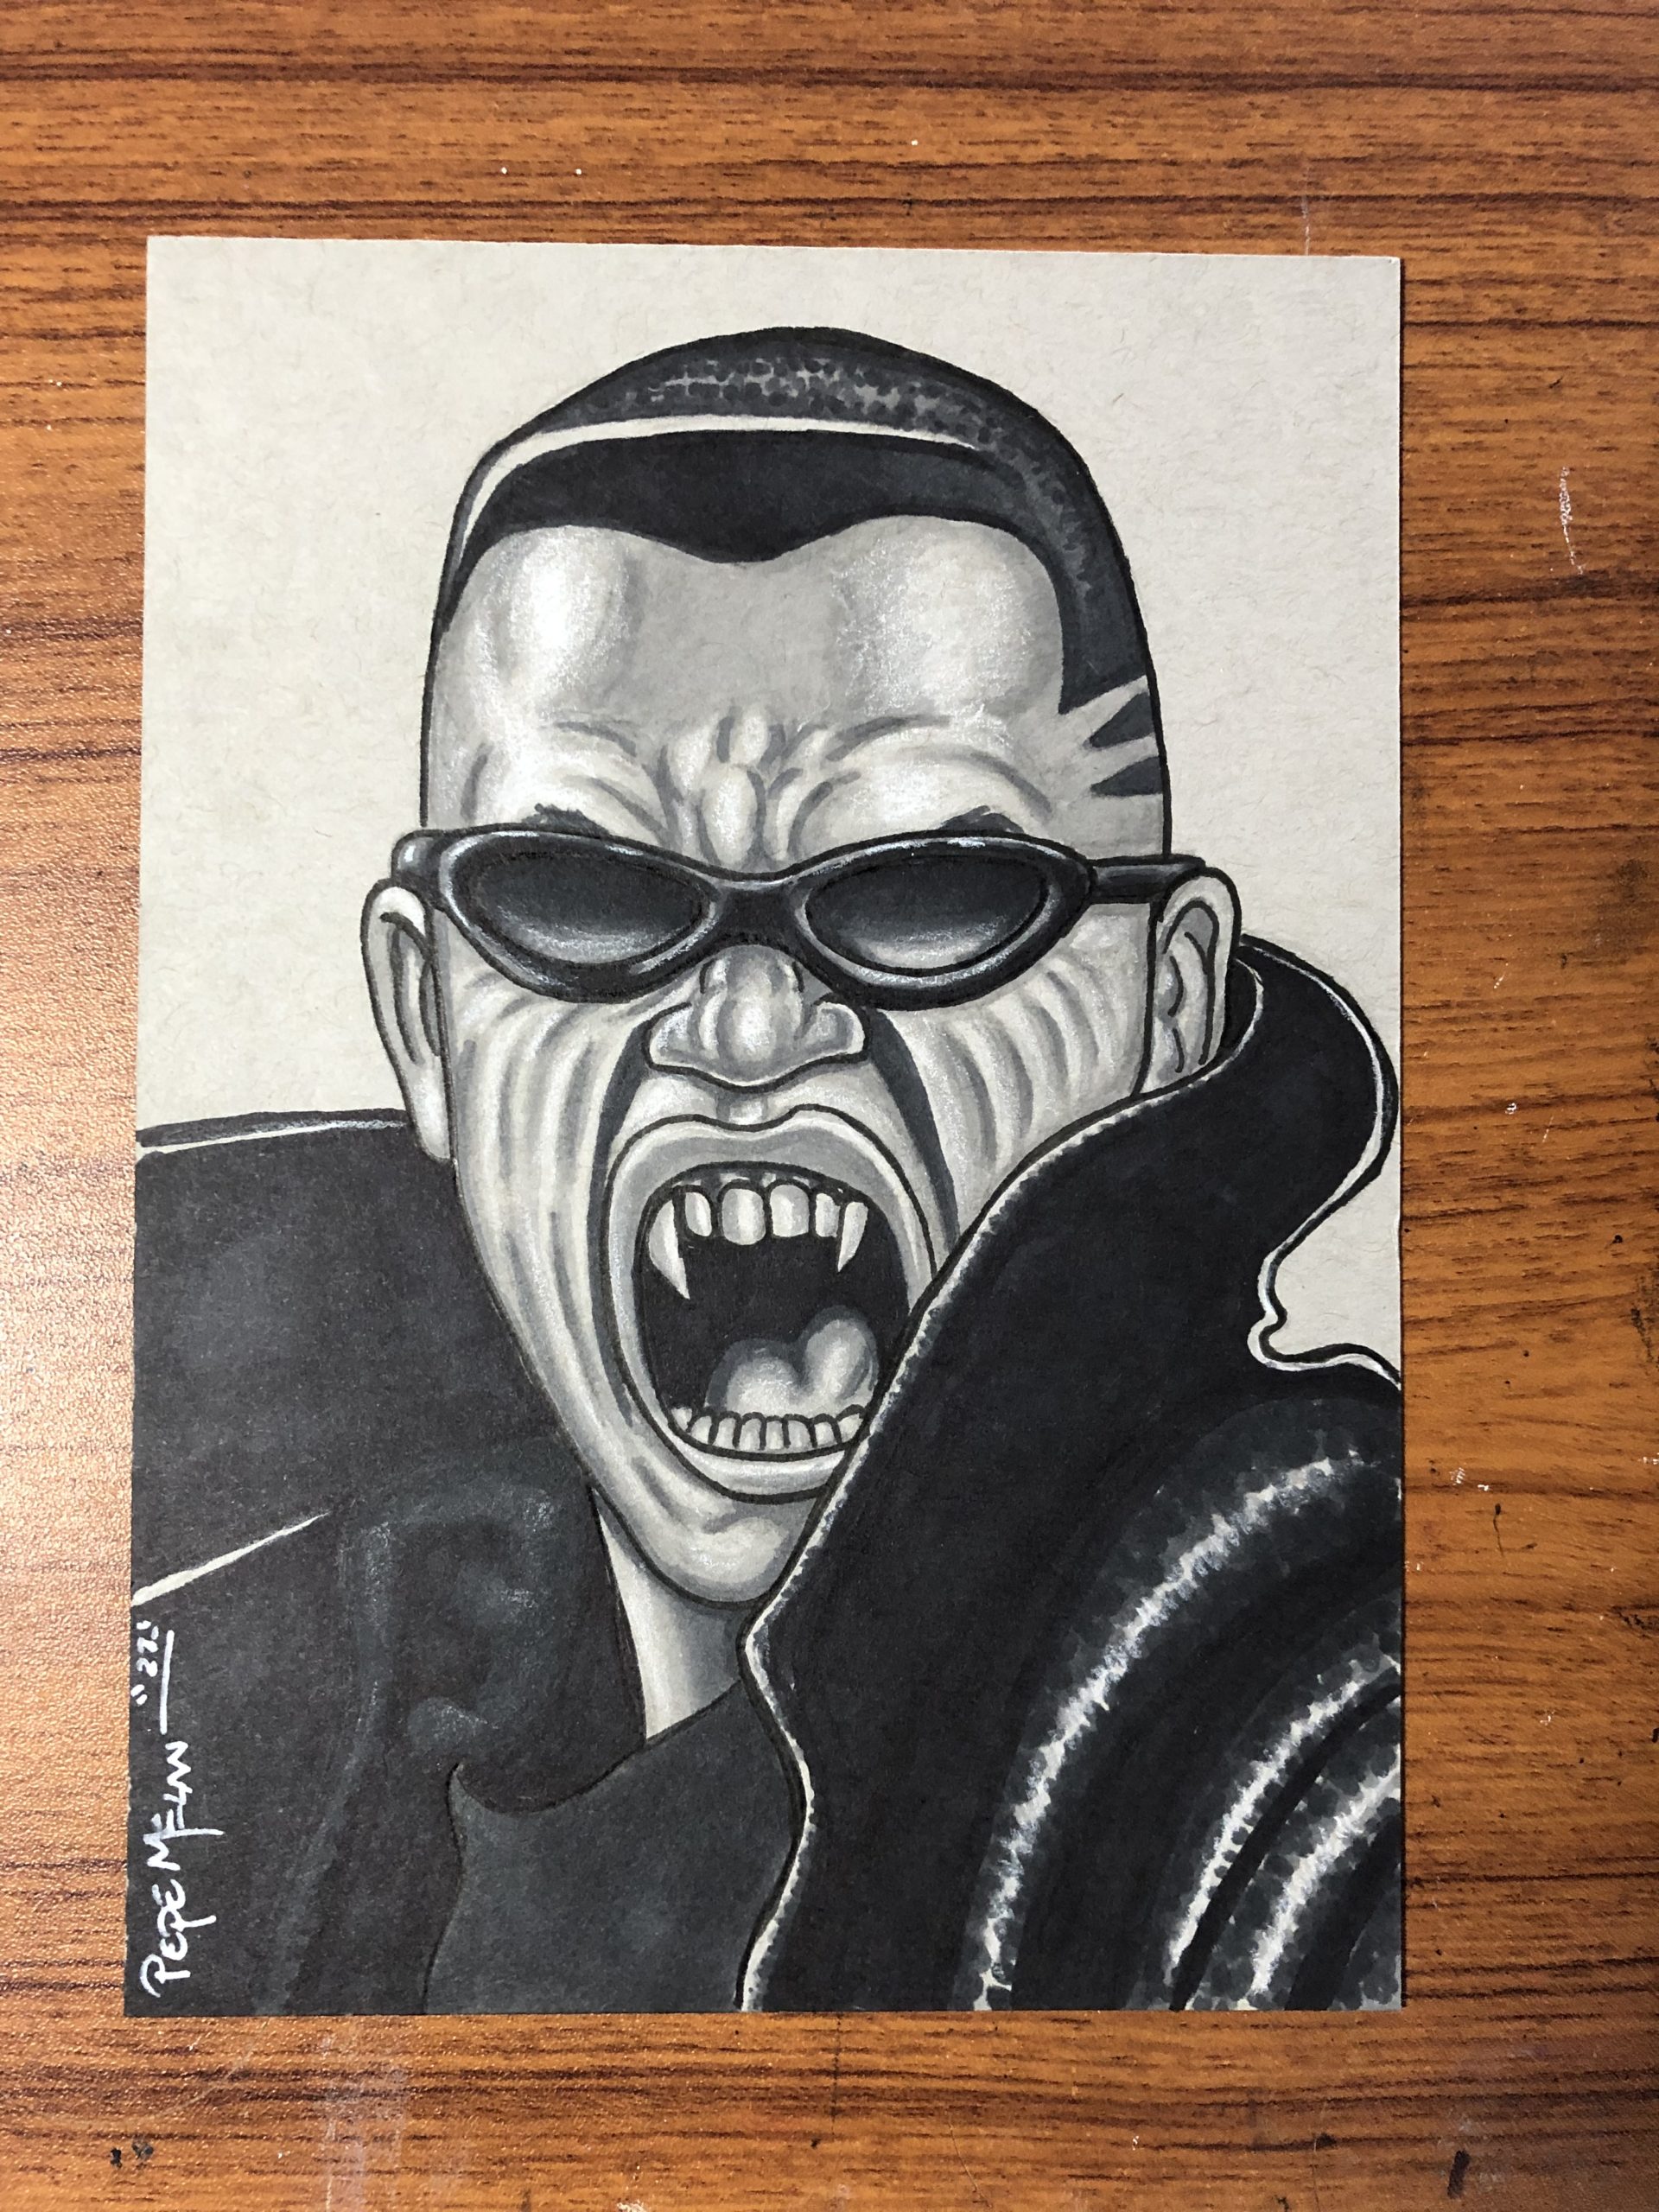
Spooky season is here!
Inktober Day 5 – Todays #uniquetober 5 prompt is Blade. Blade I & II are two of my favorite movies. Looking forward to seeing him in the MCU!
Spooky season is here!
Inktober Day 4 – Todays #uniquetober4 prompt is Hellboy. I love the interpretation of Death in Hellboy II.
Spooky season is here!
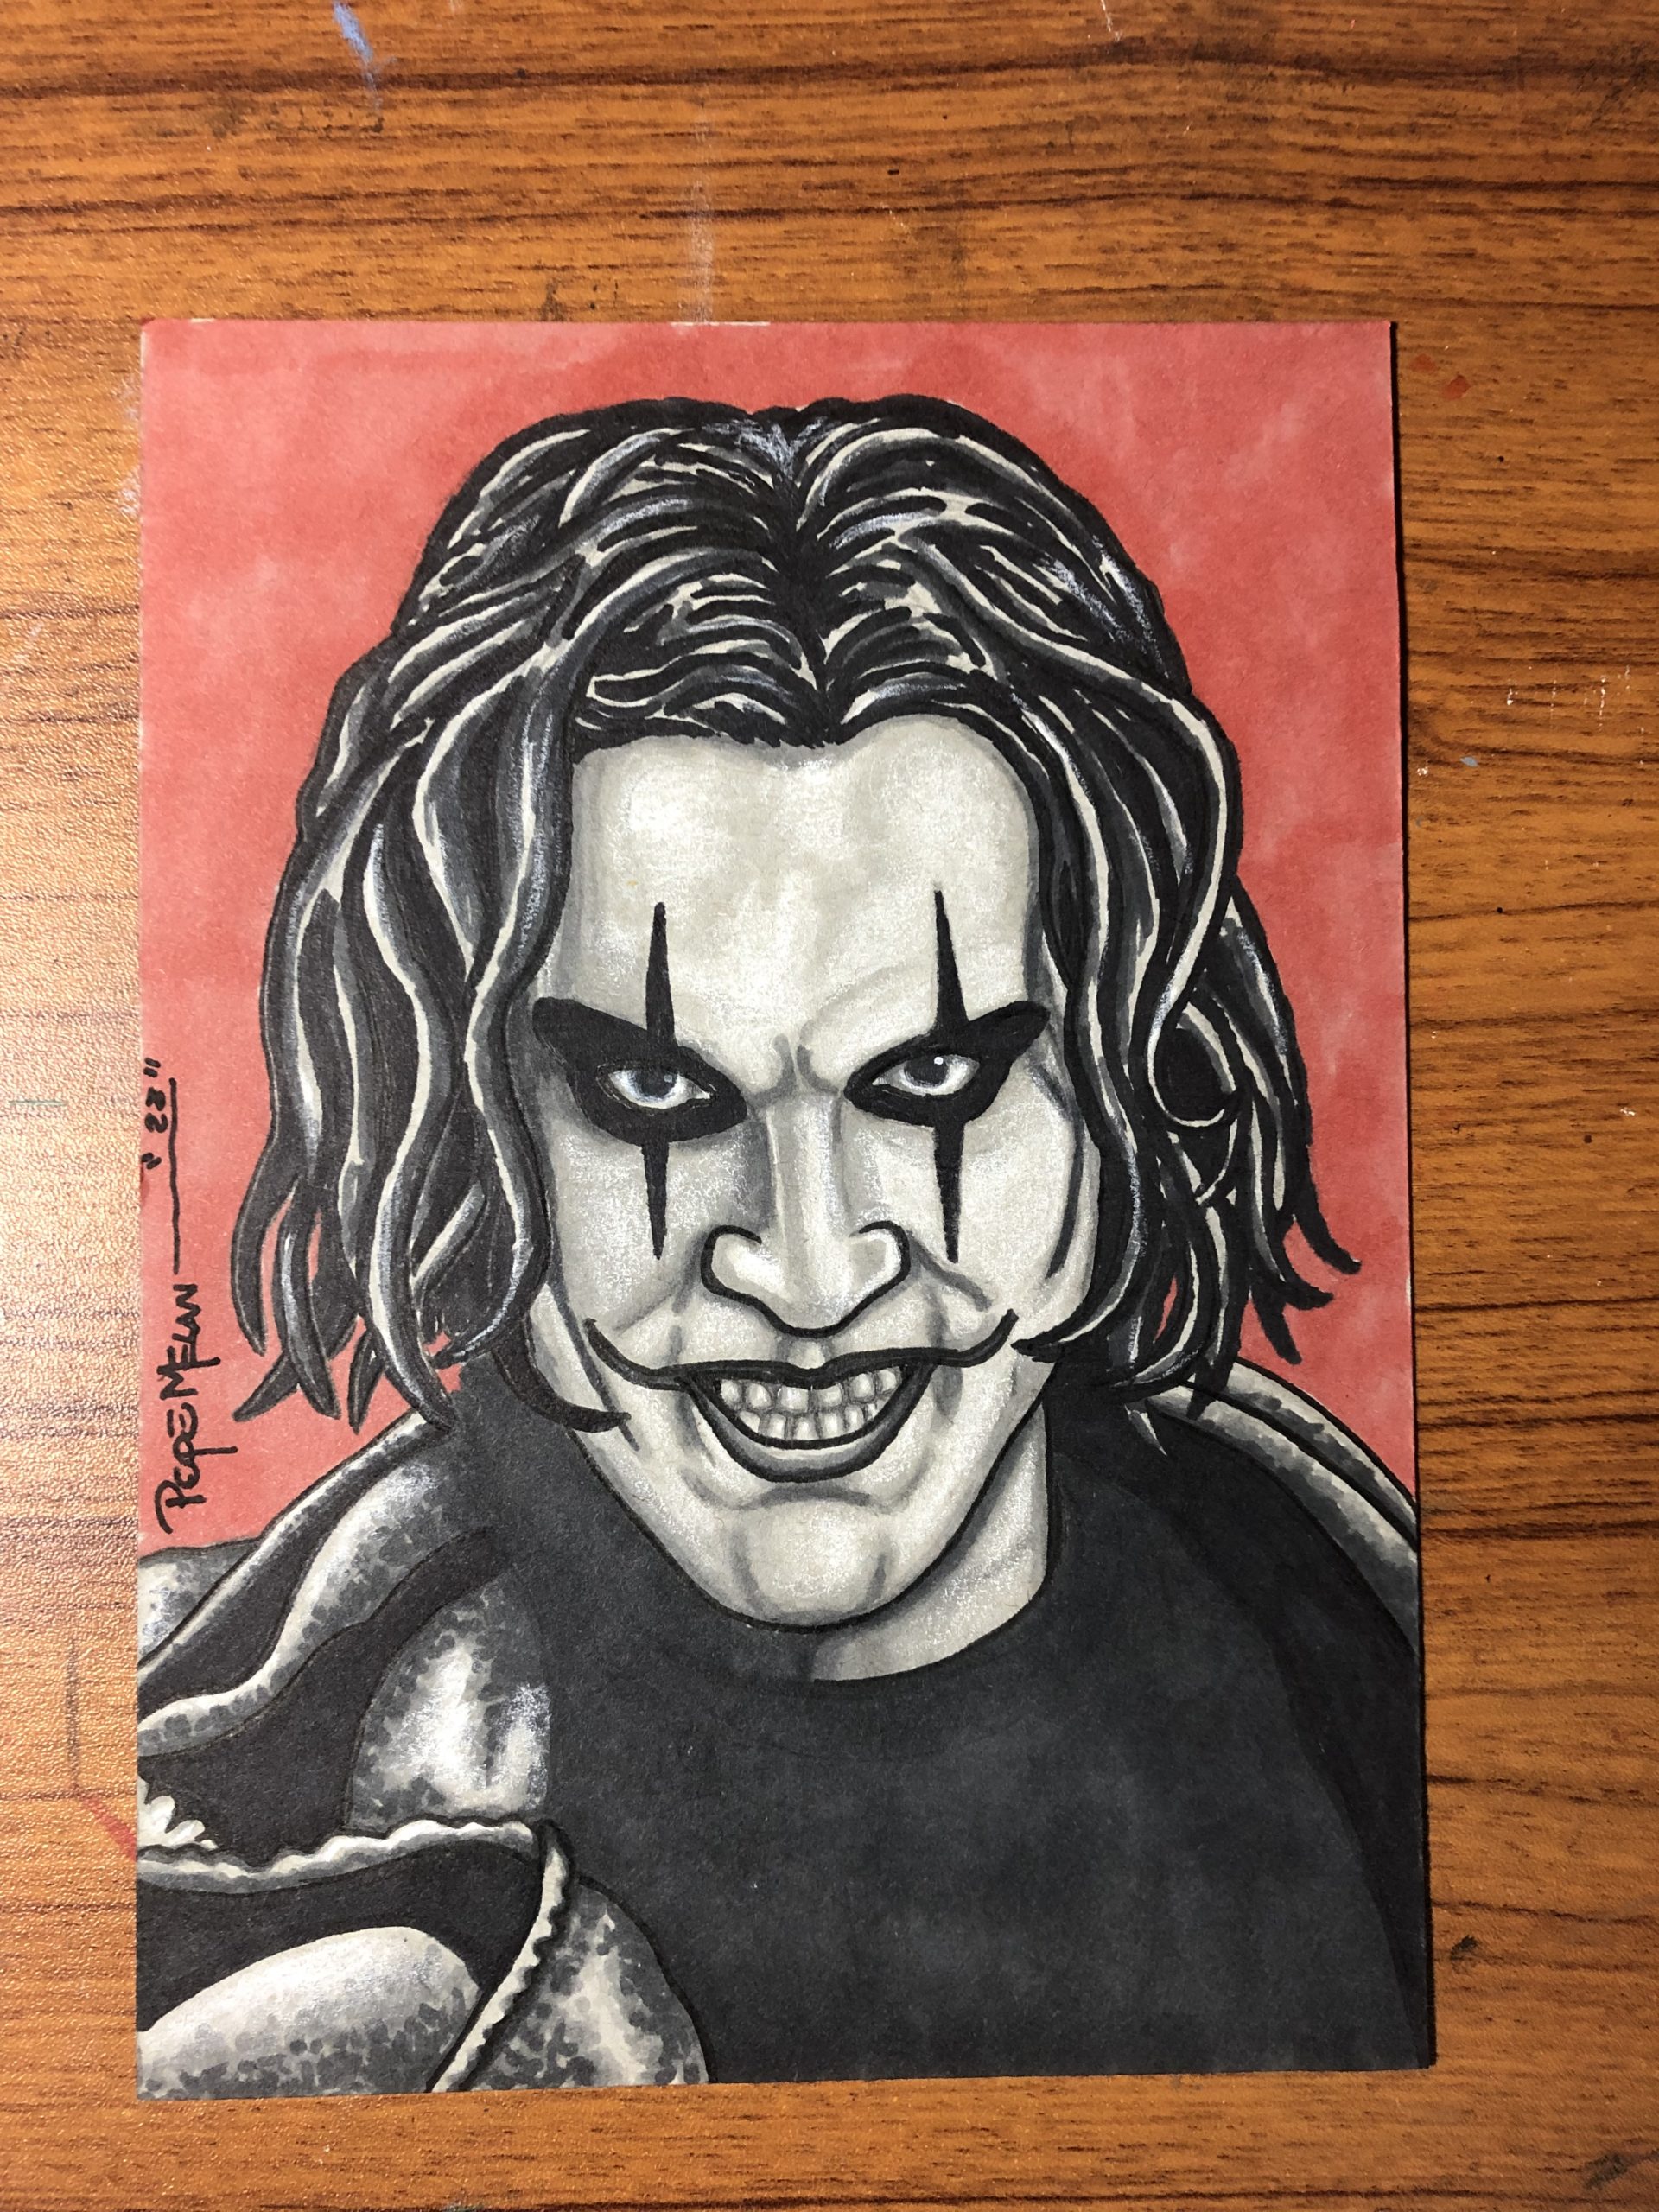
Inktober Day 3 – Todays #uniquetober 3 prompt is The Crow. Another of my all time favorite character and movie.
Spooky season is here!
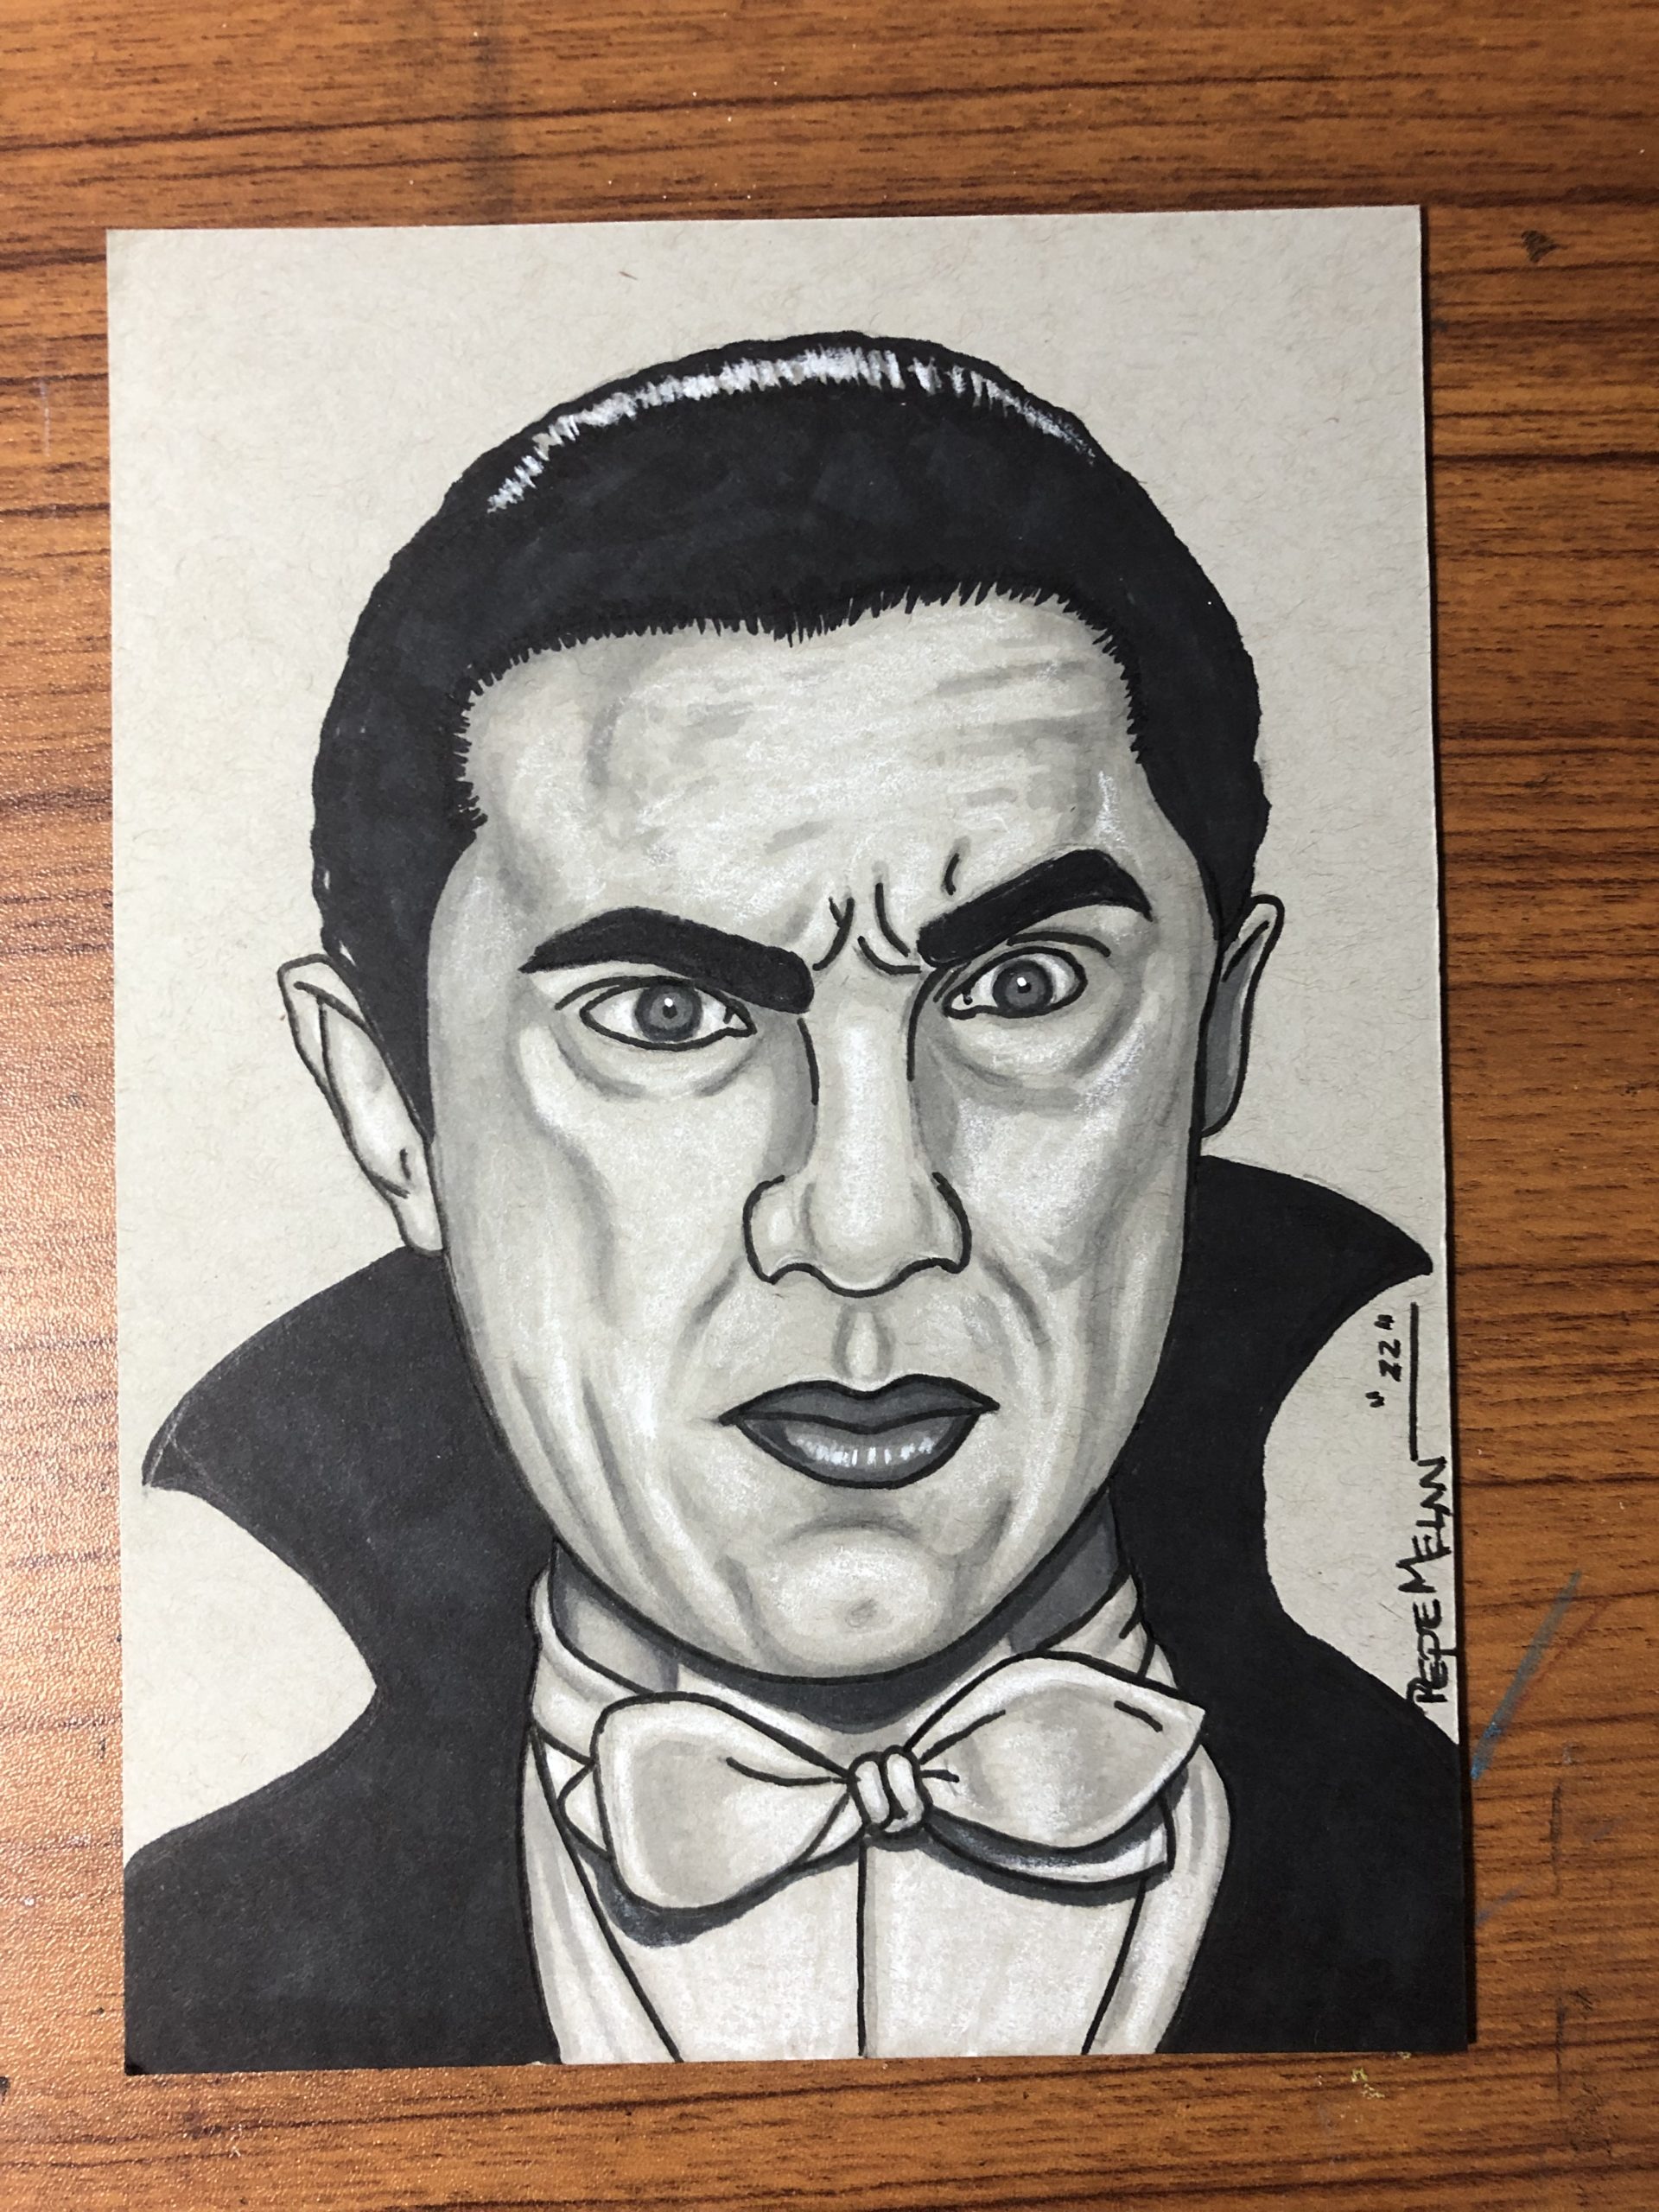
Inktober Day 2 – Todays #uniquetober 2 prompt is Universal Monsters. I chose to go with the Dracula. The Universal Monster movies are some of my all time favorites.
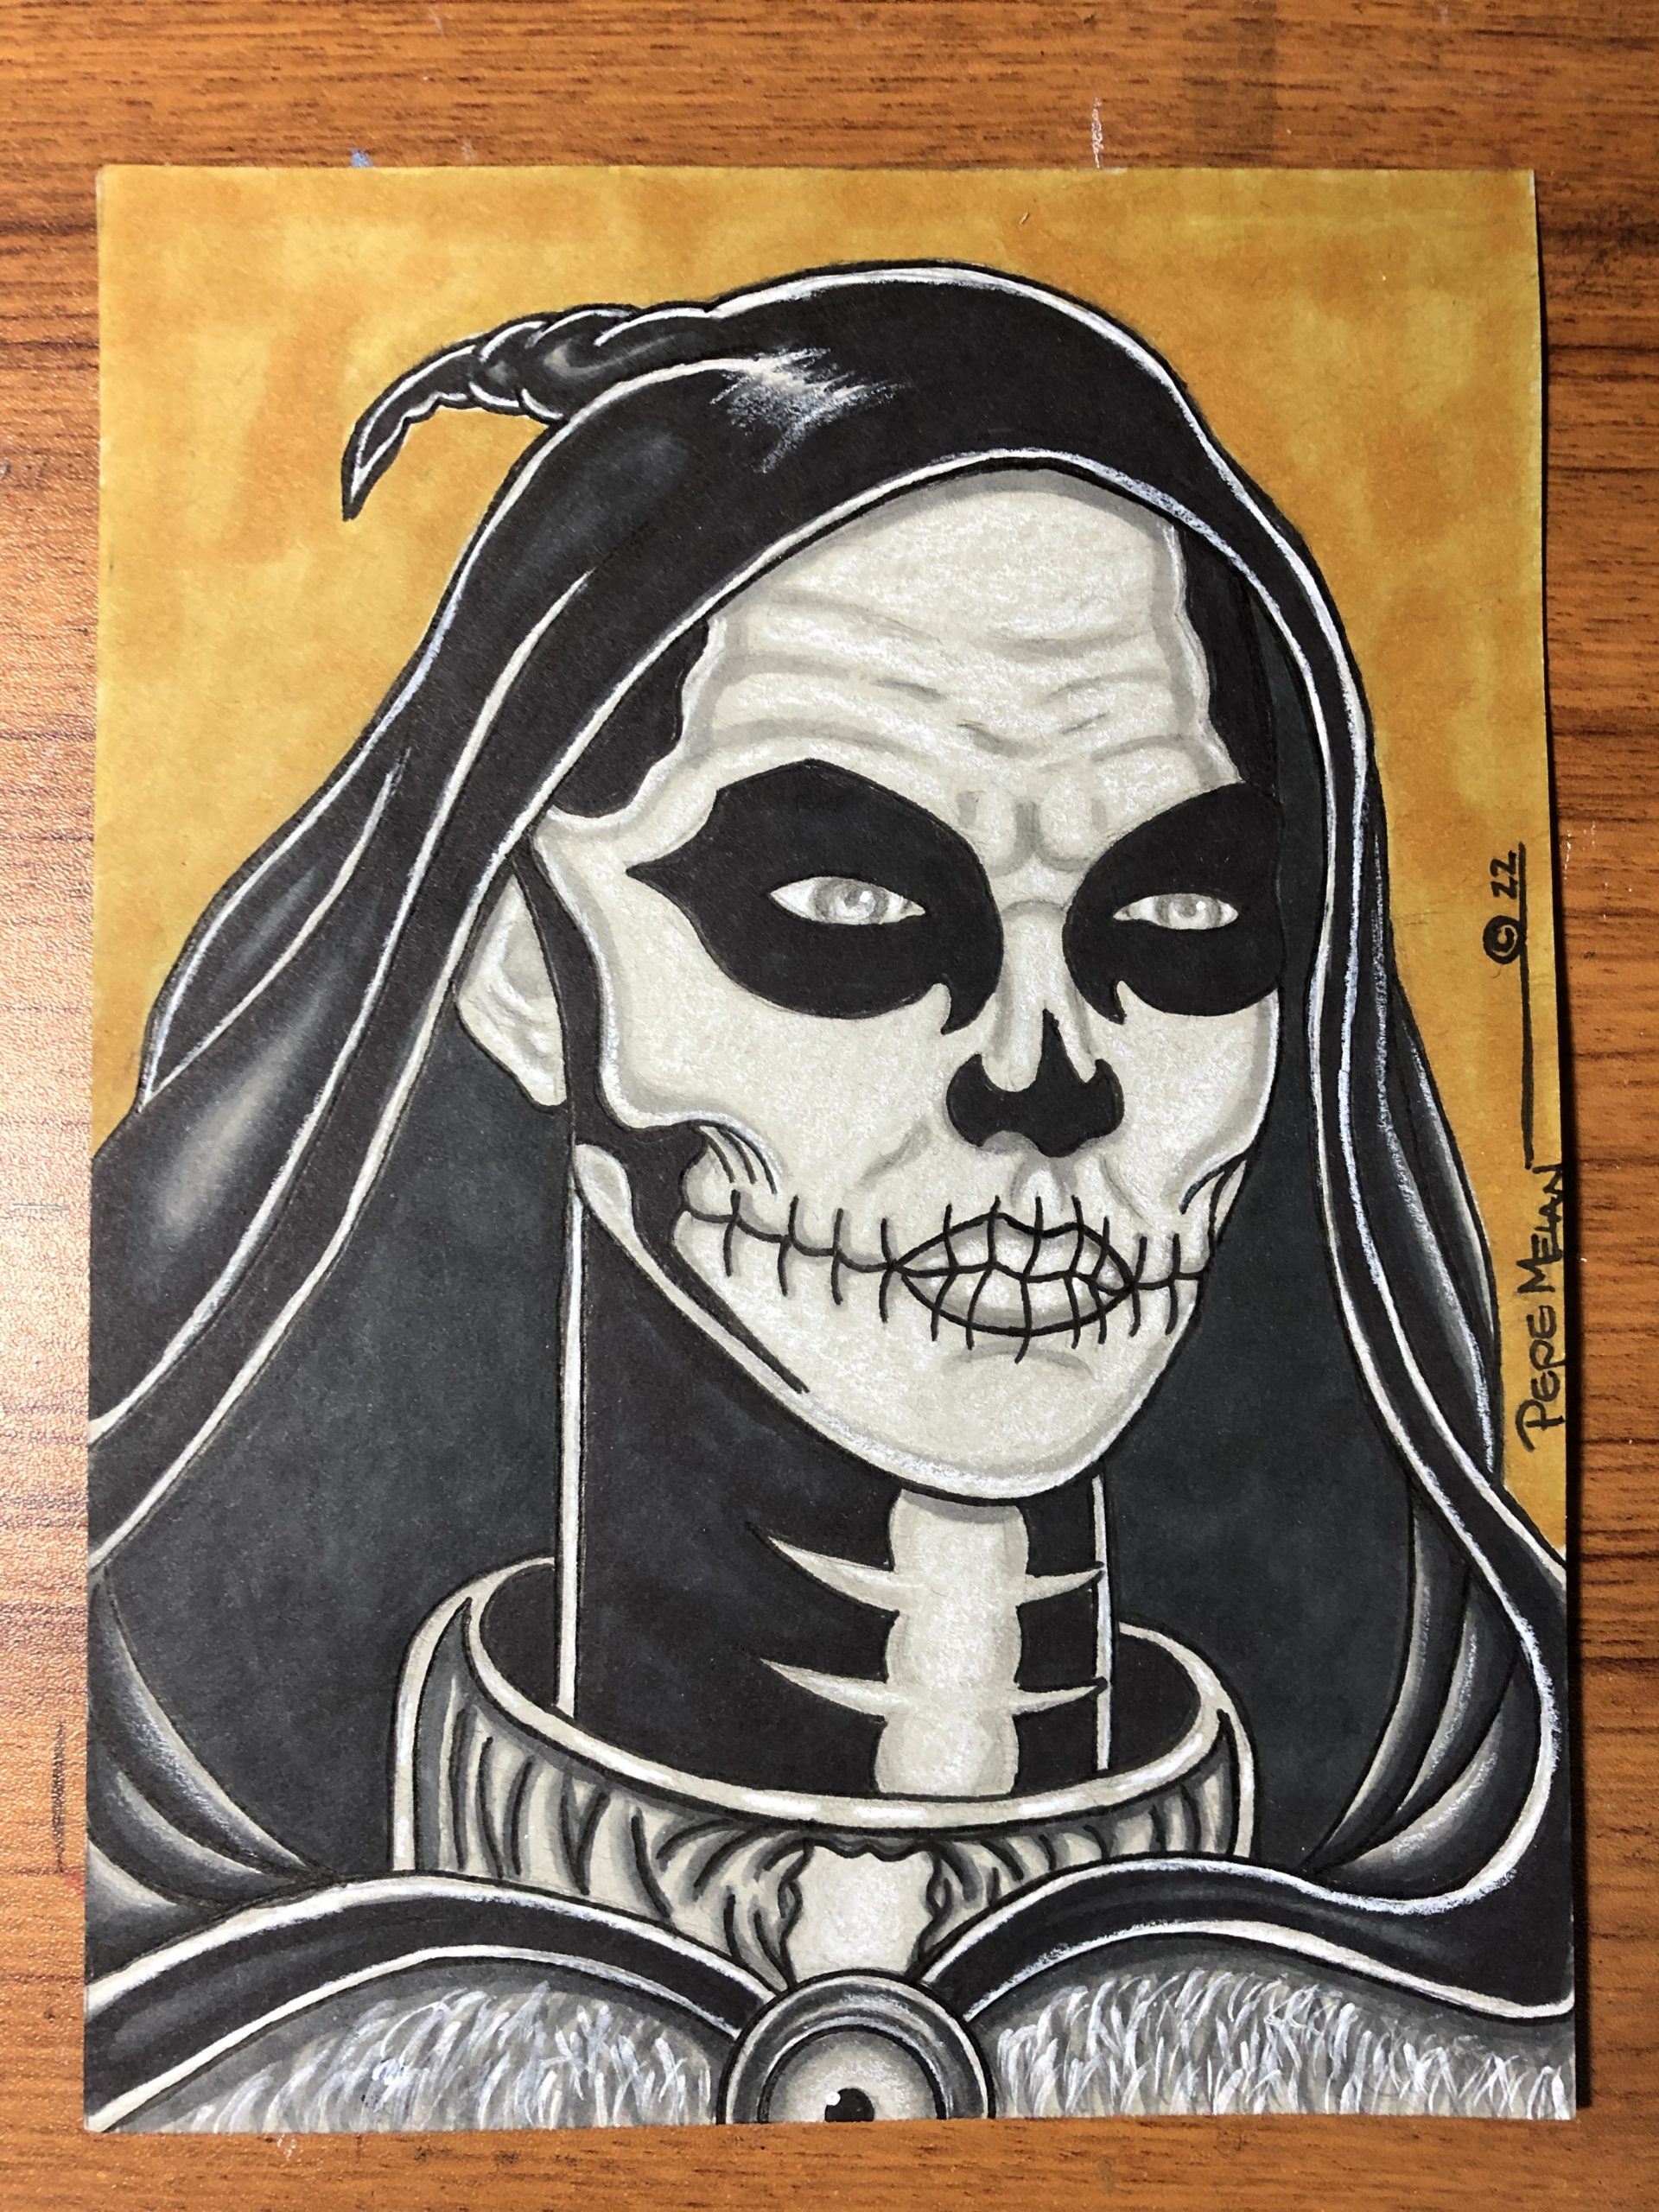
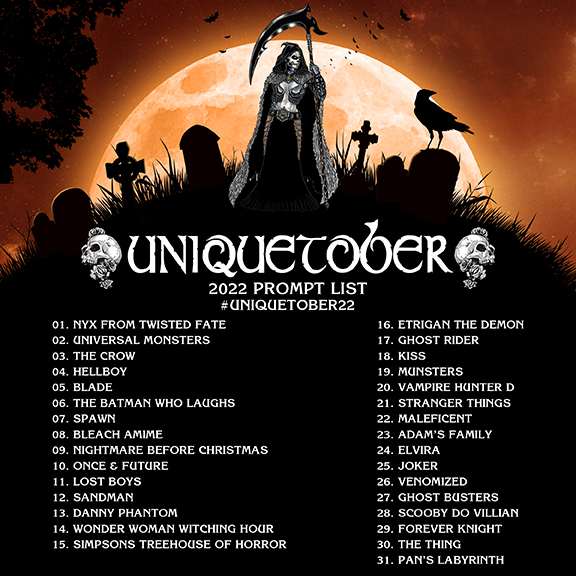
I’ve always wanted to participate in this months promoted artwork challenges, but I’ve always been unable to with my schedule. I’m gonna give it a go this year with my own prompts influenced by my love of supernatural comics, tv shows and movies. The first prompt is Nyx the main character in the story of Twisted Fate featured in my indie comic magazine Unique Realm Illustrated.
If you would be interested in using any of the prompts I’ll be using, swipe to see them and use the hashtag #uniquetober.
The background digital painting is starting to take shape for this new Nyx illustration cover artwork for my indie comic magazine Unique Realm Illustrated Issue 4 featuring the story of Twisted Fate. The concept for the cover artwork is inspired by Dante’s Divine Comedy Inferno when he’s about to enter the gates of Hell. I envision the scouts of Hell are waiting for any unwelcome guest while Nyx stands before the gates taking on any who challenge her.
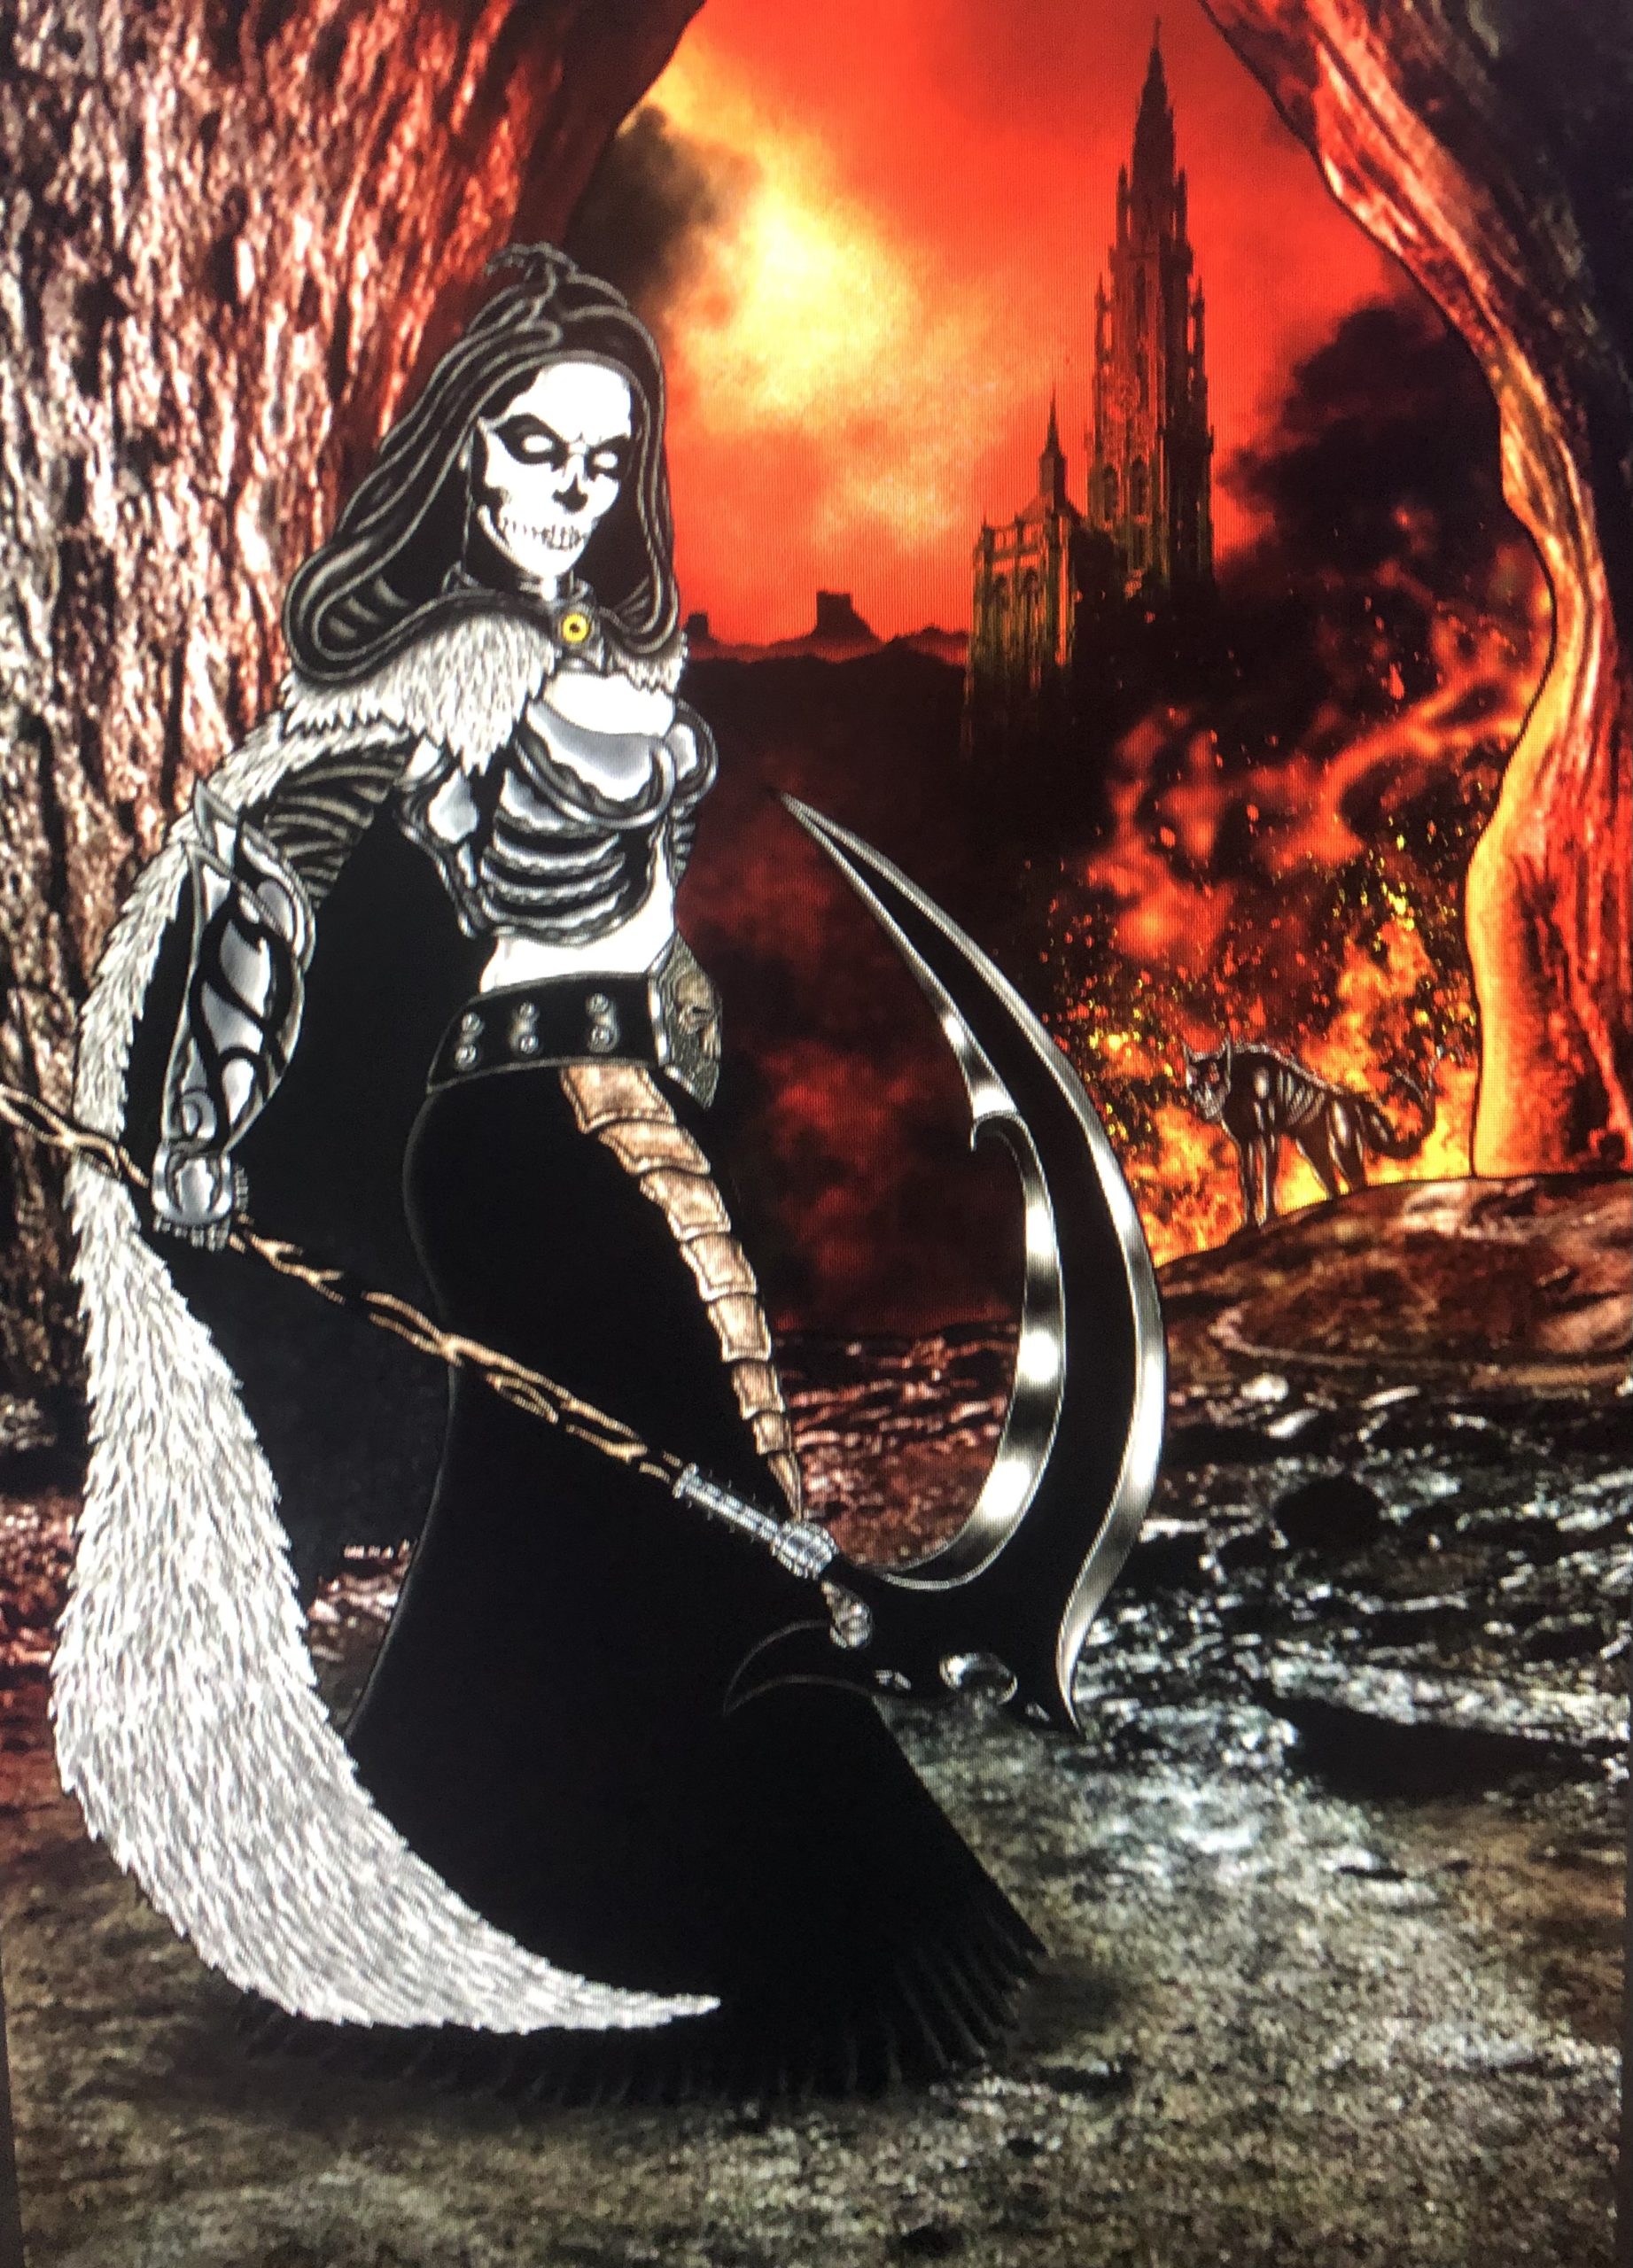
Here’s a look at the finished digital painting process on this new Nyx illustration cover artwork for my indie comic magazine Unique Realm Illustrated Issue #4 featuring the story of Twisted Fate. Next up I will start laying in the background and then digitally paint it.
